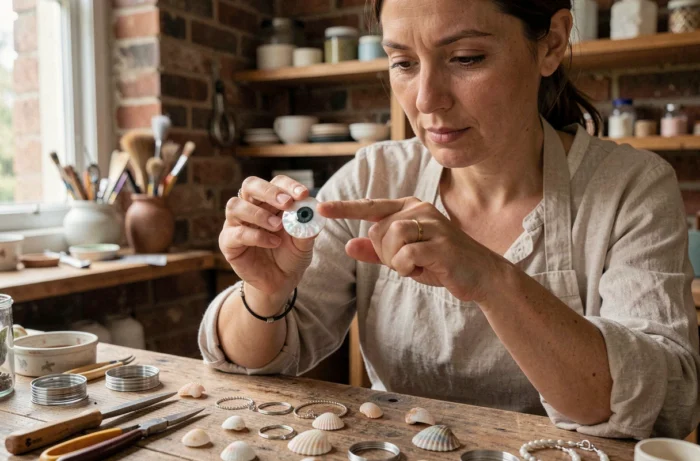
The eye of Saint Lucia is a calcareous operculum secreted by a Mediterranean mollusk, the Bolma rugosa. Its spiral face, brown on a white background, naturally resembles an iris. Transforming this small natural disc into jewelry requires a few precise gestures, simple tools, and above all, good preparation of the raw material.
Choosing and preparing an operculum suitable for jewelry
Before drilling or gluing anything, the quality of the operculum determines the entire result. A cracked, too thin, or porous eye of Saint Lucia after a prolonged stay in the sand will yield a fragile piece of jewelry.
Have you ever noticed that two opercula collected on the same beach can have very different thicknesses? That’s normal. The mollusk sheds its first operculum as it grows to secrete a larger one. The thickest pieces, often the largest, offer better resistance to drilling and polishing.
Prefer opercula that are already detached and washed up by the sea. In Corsica, as on other Mediterranean coasts, the collection of washed-up opercula remains random, and the available quantities are decreasing. Harvesting from living shells is prohibited, with fines of up to 1,500 euros for excessive collection or collection in protected areas.
If you can’t find an operculum on the beach, turn to a Corsican jeweler or a specialized shop that offers pre-sorted pieces.
For those who want to understand how to clean and make jewelry with an eye of Saint Lucia, the first step is soaking it for a few hours in warm water mixed with white vinegar, followed by gentle brushing with a soft toothbrush. This operation removes marine residues without damaging the nacre layer.

Drilling the eye of Saint Lucia without breaking it
Drilling is the most delicate moment. The operculum is calcareous, thus hard, but also brittle if the pressure is unevenly distributed. An unsuitable drill bit or too high a speed can split the piece in two.
Materials and settings
Use a mini rotary drill (like a Dremel) equipped with a small diameter diamond drill bit. A drill bit of one to two millimeters is sufficient to pass a ring or wire. Set the speed to the lowest available setting. The slower the rotation, the less heat weakens the limestone.
Place the operculum on a stable support, spiral face down, and hold it with repositionable adhesive putty (like Patafix). This trick avoids clamping the operculum in a vise, which would almost certainly crack it.
Wet drilling technique
Always drill under a drop of water. Regularly place a drop on the drilling point with a dropper or a cotton swab soaked in water. The water cools the drill bit and removes limestone dust. Without this precaution, friction causes heating that whitens the nacre around the hole and can create a micro-crack invisible to the naked eye, which will widen over time.
Drill with small successive pressures, lifting the drill bit every few seconds. Patience here makes the difference between a clean hole and a split operculum.
Assembling the jewelry with the eye of Saint Lucia: three concrete options
Once the operculum is cleaned, polished, and drilled, the assembly remains. The choice depends on the type of jewelry desired and the level of tools you have.

- Pendant with glued bail: glue a small metal bail (silver, stainless steel) onto the flat face of the operculum with a two-component epoxy glue. This method requires no drilling. Apply the glue in a thin layer, let it dry for at least twelve hours, and check the hold before threading the cord or chain.
- Pendant threaded onto a ring: pass an open ring through the drilled hole, then close it with flat pliers. Then slide the ring onto a leather cord, a pearl wire, or a silver chain. This option showcases the spiral well as the operculum hangs freely.
- Setting in a cabochon mount: if the operculum has a regular diameter, it can fit into a claw or bezel cabochon mount. Choose a mount slightly larger than the operculum so that the claws hold the piece well without forcing. This technique gives a more refined look, similar to a ring or a brooch made of natural stone.
Polishing and finishing for a lasting pearlescent effect
Polishing transforms a dull operculum into a luminous piece. The spiral face gains contrast, and the flat face sometimes reveals rosy or orange reflections depending on the piece’s origin.
Start with fine-grit sandpaper (high grit, above 800) used with water. Gently rub the spiral face in regular circular motions. Then switch to a felt disc mounted on a mini-drill with a polishing paste for metals or stones. The white polishing paste, made from alumina, works well on pearlescent limestone.
Avoid aggressive chemical products (hydrochloric acid, descalers) sometimes mentioned online. They dissolve the superficial layer of nacre and make the operculum porous. A gentle mechanical polishing preserves the material and the result lasts over time.
Protection after polishing
Apply a thin layer of matte or satin clear varnish to protect the polished surface. A marine varnish or a resin jewelry varnish is suitable. This layer prevents the operculum from tarnishing upon contact with sweat or cosmetics.
Let the varnish dry for at least twenty-four hours before the final assembly. A poorly dried piece sticks to the mount and leaves varnish marks on the bail or ring.
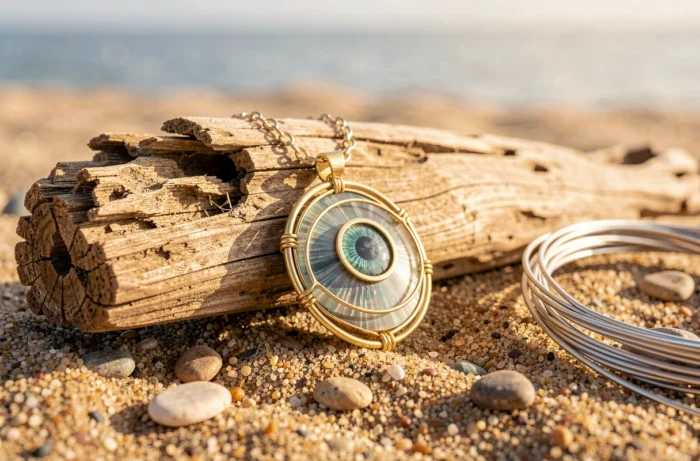
The eye of Saint Lucia remains a living material, sourced from the sea, and each operculum carries a unique spiral. A successful piece of jewelry depends as much on the care taken in cleaning and drilling as on the choice of assembly. Keep in mind that the spiral face is the focal point of the jewelry, the one that should be showcased, and that the simplicity of the assembly often highlights the nacre better than an overly elaborate setting.