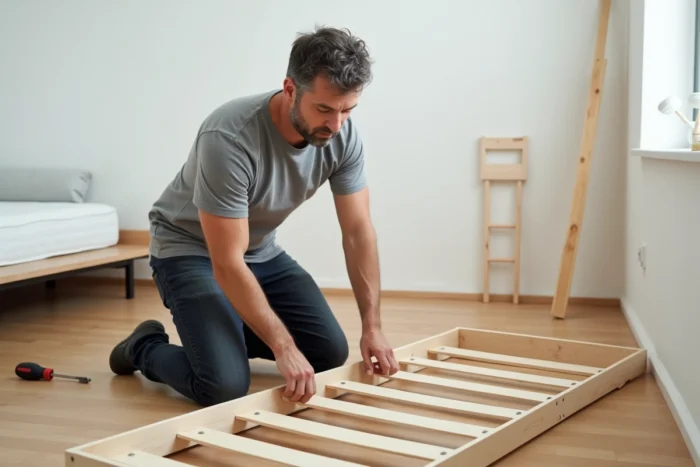
Moving planned, bedroom to rearrange or simply need to get the bed base through a narrow staircase: disassembling a slatted bed base is one of those tasks that we put off until the last moment. The good news is that the operation requires neither special skills nor specialized tools, provided you proceed in the right order and know the type of fastening present on your frame.
Screwed, stapled or glued frame: the diagnosis that changes everything
Before touching any slats, turn or tilt your bed base to observe the structure. Have you noticed that not all bed bases look the same once turned over? It is precisely this first glance that determines the course of action.
A screwed metal frame bed base can be completely disassembled by removing the bolts at the corners. The slats, held by clipped or inserted end pieces, can then be released one by one. This type of structure is the easiest to disassemble at home.
Upholstered “decor” bed bases, very common in mainstream stores, pose a different problem. Their frame made of fiberboard is often stapled, nailed, or even glued. Attempting a complete disassembly on this type of model risks damaging the textile covering and the structure. Opt for a partial disassembly: remove the legs, headboard, and removable elements, but leave the main frame intact.
To find out how to disassemble a slatted bed base on Perspective Maison, you will find a supplementary guide detailing each fastening configuration.
A third case exists: electric slatted bed bases. Their lifting mechanism adds cables and a motor that must be unplugged and secured before any manipulation of the frame. Never pull on a cable to free it; first unplug the power supply and then detach the connectors one by one.
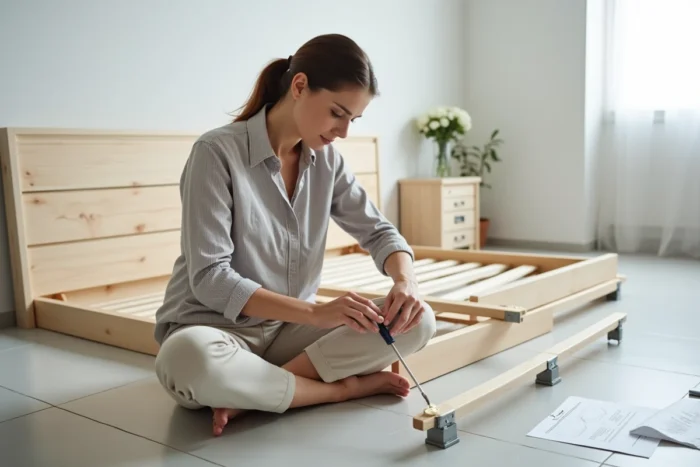
Removing the slats without breaking them: step by step
You have identified your type of bed base. It’s time to move on to the slats themselves. The basic rule can be summed up in one sentence: always lift one end before the other, never both at the same time.
Plastic clipped end pieces
This is the most common system. Each slat rests in a plastic piece that clicks onto the metal crossbar. Slide a finger (or a flat screwdriver with a rounded edge) under the end piece, then gently lift the slat upwards. The end piece will unclip without forcing.
If the slat resists, do not pull towards you. Press lightly on the end piece from the outside of the frame to release the retaining tab, then repeat the upward motion.
Tenon or inserted end pieces
Here, the end piece is inserted into a housing carved or fixed onto the frame. The slat is removed by sliding it sideways from one side, then freeing the other end. Think of it as a “disengaging” motion rather than a pulling action.
Slats screwed directly onto the wooden frame
On older or handmade bed bases, the slats are sometimes screwed into the frame. Use an appropriate screwdriver (Phillips or flat depending on the screw) and unscrew each fastening. Keep the screws in a labeled bag for reassembly: they are not all identical from one bed base to another.
- Always remove the mattress and bedding before starting, to clear access and lighten the structure
- Number the slats with a piece of adhesive tape if they have different curves, as their original position affects support
- Lay each removed slat flat against a wall, never resting on the edge, to avoid warping
Disassembling the bed base frame for staircase passage
Why does this step cause so many problems? Because most people try to get the entire bed base through, while the frame alone (without slats or legs) loses several centimeters in thickness and apparent rigidity.
Start by removing all the legs. They can be unscrewed by hand or with a wrench depending on the model. Then remove all the slats as described above. You will be left with a bare frame, lighter and more manageable.
On a bolted metal frame, locate the corner joints. Most standard bed bases separate into two or four sections once the bolts are removed. Use a socket wrench or Allen key (depending on the screws) and always start with the bolts at the bottom.
On a solid wood frame assembled with dowels and screws, disassembly is possible but slower. Unscrew the metal corner brackets if they exist. If the frame is glued, do not insist: you risk splitting the wood. It is better to tilt the frame diagonally in the staircase rather than force a destructive disassembly.
Common mistakes that damage the bed base during disassembly
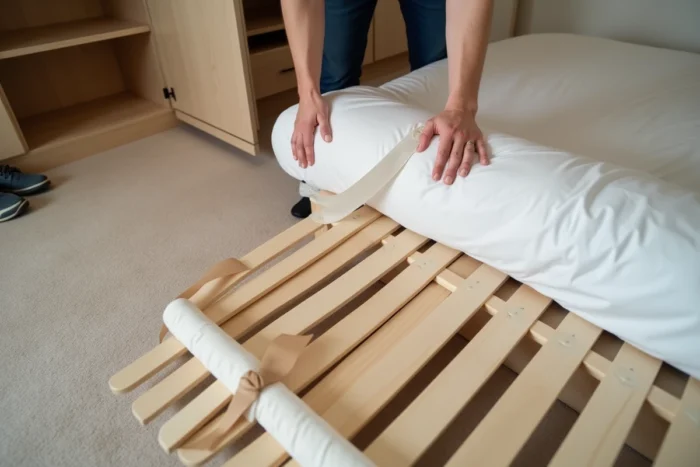
Multiplying cycles of disassembly and reassembly weakens the plastic end pieces and curved slats. If you move often, consider replacing the clipped end pieces with screwed end pieces, which are more resistant to repeated handling.
Another trap: forcing on a slightly curved slat by pressing down on it to “straighten” it before removing it. This curvature is intentional; it contributes to support. Forcing it risks cracking it in the center.
- Never place the disassembled frame directly on a damp floor (garage, basement), as moisture will warp the wood within hours
- Do not throw away the end pieces even if they seem worn: they serve as a template to find the exact replacement model
- Avoid using a hammer to unclip a stubborn end piece; a simple flat screwdriver is enough to release the tab
Reassembly follows the reverse order: frame first, then slats (respecting the numbering if you made one), then legs, then mattress. Check the stability of the frame before replacing the slats, by applying pressure on each corner. A frame that moves slightly when empty will move more under load.
Last often overlooked point: if a slat creaks after reassembly, the problem rarely comes from the slat itself. Check that the end piece is properly seated in its housing and that there is no play between the frame and the crossbar. A piece of self-adhesive felt between the end piece and the metal eliminates noise without altering support.