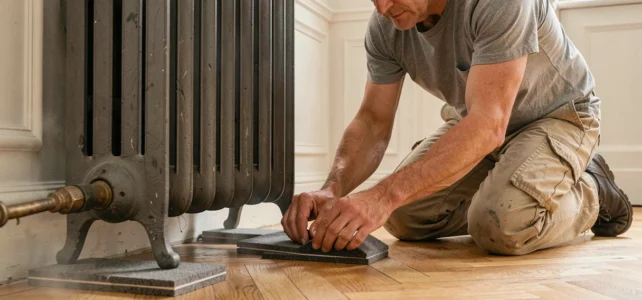
A cast iron radiator is heavy, sometimes as much as a small storage unit filled to the brim. Placing this type of device on a fragile floor, whether it is old, floating, or engineered wood, exposes the wood to deep and lasting marks. Protecting a fragile floor when installing a cast iron radiator requires some simple technical precautions, provided you know them before starting.
Indentation of the floor under a cast iron radiator: understanding the real risk
Have you ever noticed those imprints dug into an old floor, right under the legs of a heavy piece of furniture? This phenomenon has a name: indentation. It occurs when a significant load is concentrated on a surface that is too small.
A cast iron radiator combines two aggravating factors. Its mass is high, and its original feet often provide a reduced support surface. The weight is not distributed along the entire length of the radiator, but rather on two, three, or four contact points. Each foot therefore supports localized pressure that can compress the wood fibers.
On a thick oak solid floor, the risk remains moderate. On a floating floor, a thin engineered wood, or an old softwood floor, the pressure per foot is enough to mark the wood in just a few weeks. The damage is often irreversible without sanding.
Concrete solutions exist, detailed notably on the ID Habitat site for fragile flooring, which discusses in detail the choice of feet suitable for this type of flooring.
Cast iron radiator feet and load distribution on the floor
The first reflex is to enlarge the contact surface between the radiator and the floor. The more the load is distributed, the less the wood suffers. Several approaches can be combined.
Replace the original feet with wide base models
Cast iron radiator feet with a wide plate come in various sizes. Their flat base, wider than standard feet, reduces pressure per square centimeter. This simple change makes a real difference on a sensitive floor.
Insert a distribution plate
A rigid plate slid under each foot (or under the entire radiator) redistributes the weight over a much larger area. Common materials for this function include:
- A marine plywood or dense MDF plate, cut to the dimensions of the radiator, with a few centimeters of margin on each side
- A thin steel plate, sometimes offered as an accessory by radiator foot manufacturers
- High-density felt or hard rubber pads, glued under each foot, which add a cushioning layer without slipping
The distribution plate is the most effective protection on fragile flooring. It transforms four pressure points into a continuous support surface.
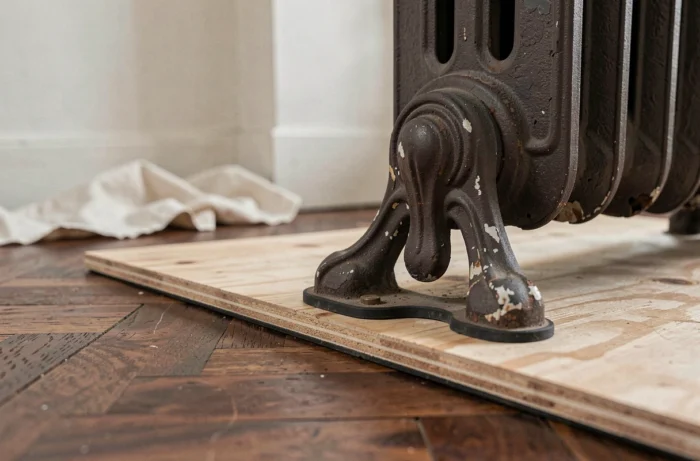
Expansion gap of the floor around the radiator feet
Why does this technical detail change everything? A floating or engineered wood floor is not fixed to the ground. It rests freely and moves with variations in humidity and temperature. If a radiator foot blocks this movement, the wood has no room to expand.
The result: planks that lift, buckle, or crack near the radiator. The NF DTU 51.11 (May 2024 edition) reminds us that floating floors must maintain a peripheral gap around all fixed obstacles, including radiator feet. This gap is then concealed by rosettes or covers adapted to the diameter of the pipe.
Specifically, when installing the floor around an already placed radiator, the planks must be cut with a sufficient margin. If the radiator is installed after the floor, its feet must never pinch or compress the planks against a wall or another obstacle.
Never glue a floating floor against a cast iron radiator foot. Leave the gap specified by the flooring manufacturer, even if the visible space seems unsightly to you. Rosettes exist precisely for that.
Wall mounting and floor feet: combining both to secure a heavy radiator
Installing a cast iron radiator solely on its feet, without any attachment to the wall, concentrates all the load on the floor. In case of a shock (a child leaning against it, a vacuum cleaner bumping into a foot), the radiator may tilt slightly. This repeated micro-movement exacerbates indentation.
Recent feedback confirms that a cast iron radiator placed on fragile flooring gains stability when combining floor feet with high wall brackets. The brackets take on part of the weight and prevent any tilting. The floor then supports a reduced load at each support point.
The wall mounting is done with anchors suitable for the type of wall (plaster, brick, concrete). The brackets are adjustable in height so that the radiator rests on both its feet and against the wall, without forcing either support.
Points of caution during installation
- Check that the wall can support the load: a plasterboard lining alone is not enough; you must reach the load-bearing wall with long anchors
- Adjust the feet so that they support without crushing the floor: the radiator should not “hang” on the wall nor weigh exclusively on the floor
- Check the level of the radiator after tightening, as a tilted device promotes air pockets in the water circuit and makes purging less effective
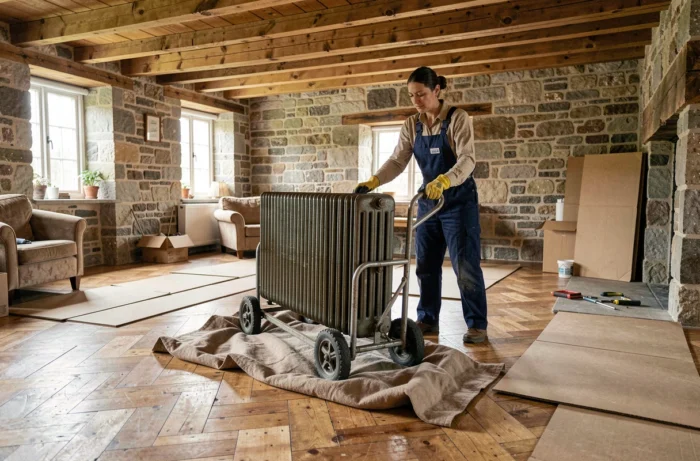
Heat and flooring: limit the drying of the wood near the radiator
A cast iron radiator emits intense and prolonged heat. The wood located just beneath receives a direct thermal flow that accelerates the evaporation of its internal moisture. Over several heating seasons, the floor under the radiator dries out faster than the rest of the room.
The planks retract, gaps appear between them, and the wood becomes more brittle. This phenomenon affects softer species (pine, fir, poplar) more than hardwoods.
Two measures limit this effect. The first: maintain a stable relative humidity level in the room during the heating season, ideally by regularly airing out or using a humidifier. The second: do not push the water circuit temperature to the maximum if the radiator is oversized for the room. Cooler water in the circuit reduces thermal stress on the floor located beneath.
Protecting a fragile floor under a cast iron radiator relies on three concrete axes: distributing the load with wide feet or a plate, respecting the wood’s expansion gap, and securing the radiator to the wall to relieve the floor. These precautions taken before installation avoid costly repairs on a flooring that, once indented or cracked, is difficult to replace without removing the device.